Hi cuties,
As promised here is my usual Sunday post and I have a real treat for you.
I’m going to show you how you can simply and creatively spice up any old shirt or just customize a basic shirt.
And the most important ingredient is, simply, to have fun!
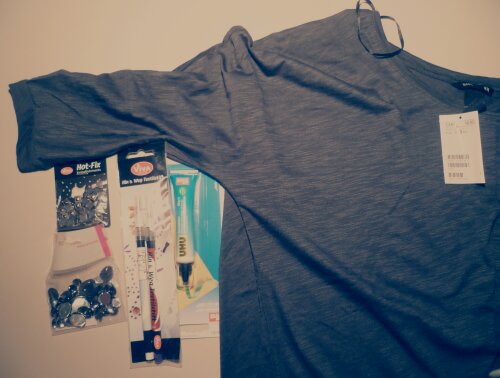
– an old or a new plain shirt
– hot fix rivets and/or different sized rhinestones
– a white pencil, crayon or a fabric pencil
– fabric glue
Let’s get started:
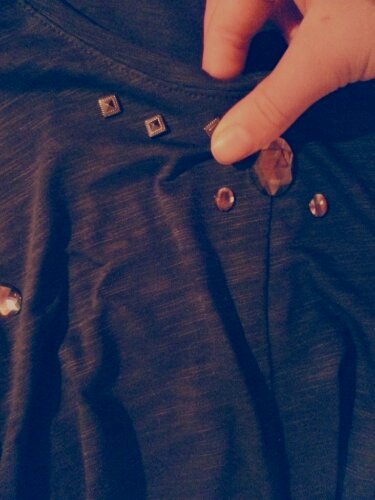
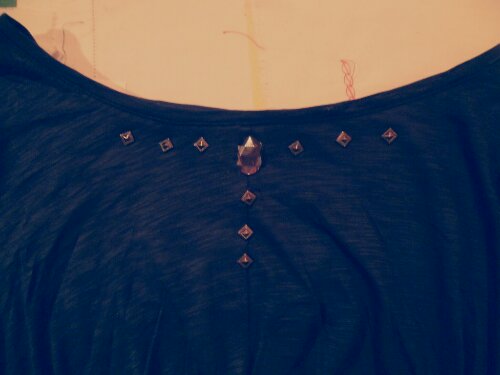
1.) Take your shirt and the rhinestones. Start placing them to see how you want the layout to be. If you want you can skip this step but I wouldn’t recommend it.
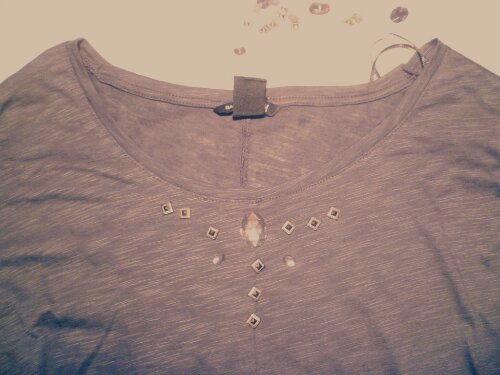
Similar rivets: http://www.michaels.com/on/demandware.store/Sites-Michaels-Site/default/mProduct-Show?pid=ap0057&start=2&cgid=products-apparelcrafting-iononappliques
Similar rhinestones: http://www.joann.com/create-your-style-swarovski-flat-back-crystals-100-pkg-crystal/10929230.html#start=1
Shirt: http://tablet.hm.com/ch/product/22979?article=22979-A
2.) Best is to start with the hot fix rivets. You will need an ironing board for this step. Hot fix means they are filled with glue and you melt the glue so that it sticks. But more to that later.
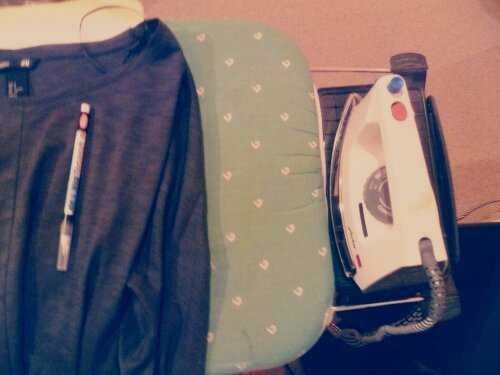
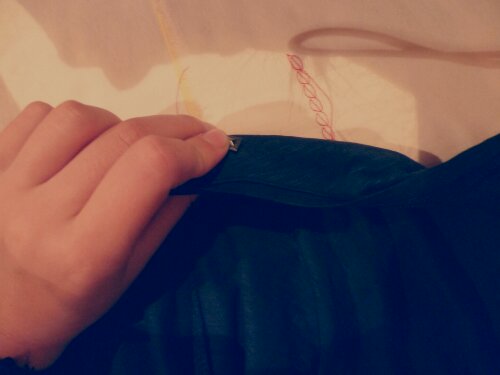
Take a rivet and mark its position on the inner side of the shirt with a white pencil.
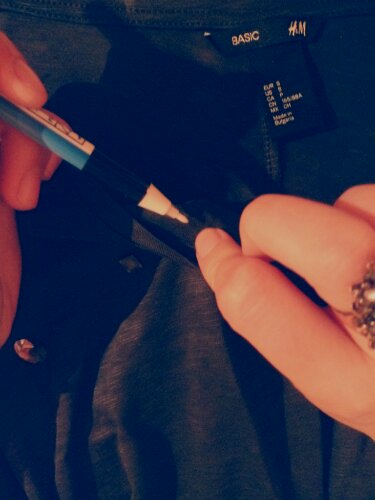
3.) Now comes the hard part. It’s easiest to put the rivet on the ironing bord and then place the shirt over it. You can then position it with your fingers.
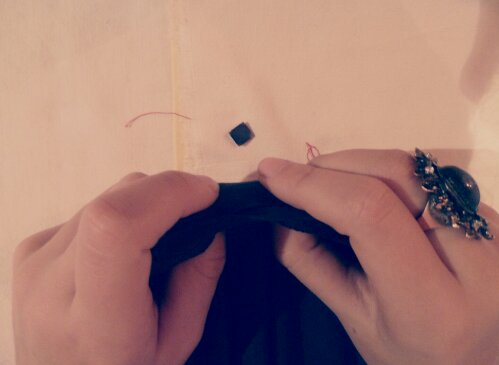
4.) Place the iron over it and hold it there for a few seconds so the glue has time to melt (be careful that it doesn’t start burning). Then you can start moving the iron around. Use your fingers to spread the shirt so that there aren’t any creases.
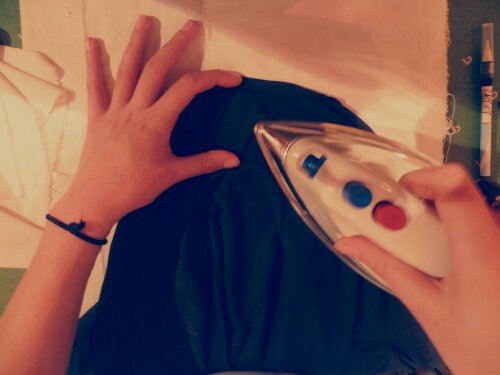
5.) When you ironed on all of your rivets ,we can get started with the rhinestones. These we will simply glue on with fabric glue. Warning: I’m not sure how well the glue will hold so only wash this shirt with a low temperature or hand wash it.
The glueing is so easy. You just put the glue on the back of the rhinestone and place it. Wipe away any excess glue and put some pressure on it. Depending on the glue you’ll have to wait 30 minutes up to an hour for it to completely dry.
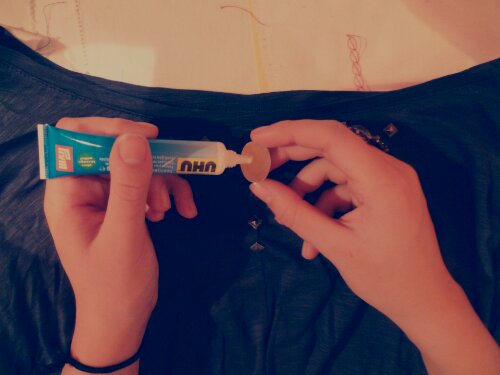
Continue like this with the rest of your rhinestones.
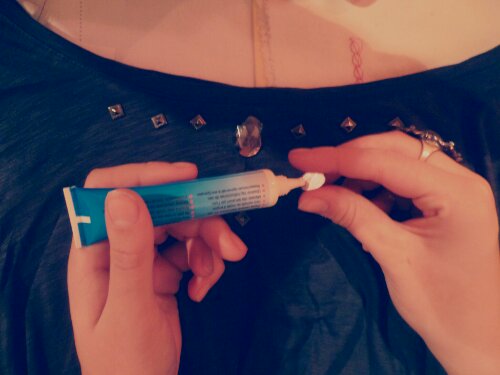
6.) And voilà: you have a unique ,beautiful (and sparkly) shirt, of which you can be sure that no one else has it.
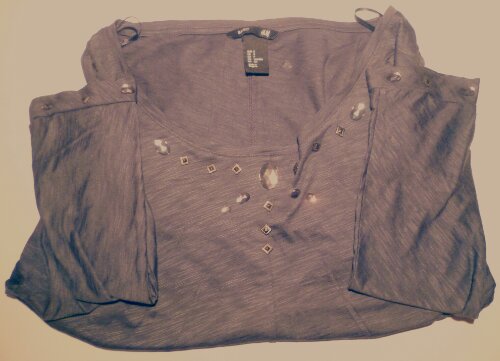
Now before I say goodbye, I have some exiting news. On the 9th of December Imagine Dragons are coming to Switzerland! Which is amazing because I absolutely love them and all of their songs ,so naturally I have tickets. And because I need an outfit for everything a few of my friends and I got together this weekend to customize our own shirts, which we want to wear to the concert. So I thought why not make a blog post about it.
So if you want to see our shirts and some exclusive pictures and windows from the concert ,stay tuned till the 15th of December.
Thanks again for reading my newest post. Have a nice week!
Xoxoxo

P.S You guys are awesome. In the time that this blog has been online ( about 3 weeks) I’ve gotten over 100 views, which is really cool and I couldn’t of done it without you, so a big thank you for that!♡♥♡
