Be my Valentine♡ Makeup edition

Hi guys,

Valentines day is soon and I’m really excited because I love Valentines day, sadly here in Switzerland it isn’t a big deal. But I don’t care so get ready for my Valentines day special edition because for the next few weeks it will be almost the only thing I’ll be posting.

I already did my face makeup, so this is going to be more of an eye makeup tutorial.
image

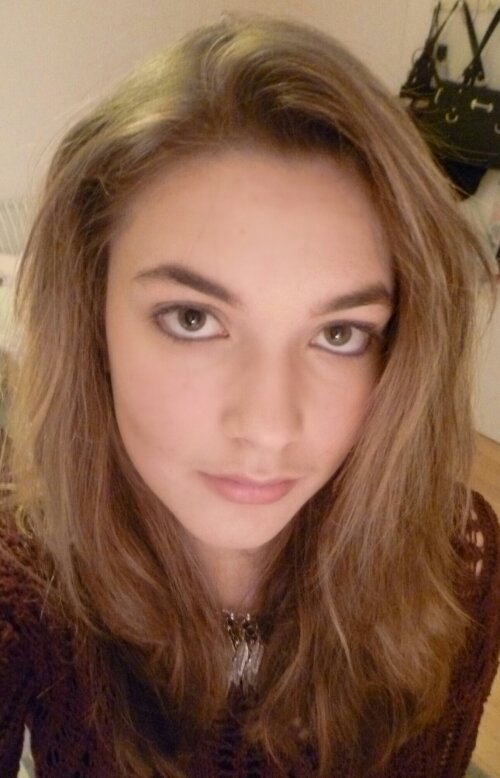
This is how I’m starting out. If you want to know what I used, this is it:
image

Clinique acne solution(in 01 fresh alabaster), Clinique chubby stick(in 07 super strawberry), Sunkissed bronzer(color at the bottom),Catrice highlighter(in C01 Far and beyond),Nyx eyebrow cake powder(in Dark brown/brown),got2b powderful

I also used L’Oréal BB Cream Anti-dark circles and Yardley Oatmeal 2 in 1 blemish stick in Ivory, but I couldn’t find them anywhere.  I think they are discontinued. 
By the way I used the Chubby Stick as a blush and it worked really way. It gave a nice subtle color.

Now to my eyes. I grabbed my Bobbi Brown Shimmer Wash eye shadow in the color Champagne 13. I used it in the corner of my eye, under my eyebrow and over my whole eye lid.
image

Then I took my Long wear cream shadow, also by Bobbi Brown in the color Heather 30. This I just put over my lid. It is a purple color but it’s still subtle.

image

Next I grabbed my nyx Smokey look kit.
image

I chose the darkest grey color in the middle and brushed it in the corner of my eye. I didn’t brush exactly in the corner of my eye but smudged the gray a little bit over my temple for an extra smokey look. Be sure to blend it well though.
image

The next step is optional. I did it for a more intense look. I just grabbed my liquid liner and drew a thin line at the bottom and at the top of my eye, but only in the corner. Then I grabbed a kajal and went over the line I did before. Then just smudge it a little bit.
image

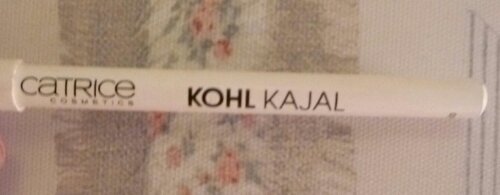
Now because of the black around my eye I filled my waterline with a white kajal. It just opens my eyes a little bit more.
image

For my mascara I used Mabyelline Big Eyes Mascara and then I piled some CovergirlLashblast Fusion on my top lashes.
image

Then for my last touch I added my Yves Rocher Nourishing balm. It is the chocolate and rasberry one, and again for some reason its discontinued even though I love it.
image

It moisturises my lips and ats abit of color. Plus it smells amazing.

The look:

image

image

Thanks for reading this post. If you try the look please show it to me via email fashion4forfun@gmail.com,  or via Twitter @Fashion4forFun,  or via Instagram @Fashion4forFun.  Have a nice week.

Xoxoxox

Caitlyn
Christmas with Caitlyn: Holiday makeup/ Reviews

Hi my beauties,

Merry Christmas!

It’s my favorite time of the year and I can’t wait to show you guys what I have planned for today.

This is a makeup tutorial for Christmas eve or even for any other special day. It’s really natural but still has a wow effect.

Let’s get started.

image

My face

So to explain, on my right eye I’ve already done the makeup but my left is bare. By the way on my cheeks I have a this highlighter from Caltrice, a limited edition with I love and I think it matches the holiday theme.

image

My eyes

Now I always tie my hair back and since I cut it it’s been hard, so I used this rubber which works really well.
As a highlighter for my eye I used this Shimmer Wash Eye Shadow by bobbi brown in the color Champagne 13. It belongs to my everyday makeup and it’s so easy to apply especially when I’m having a lazy day.

image

Today however I will be using this medium shadow brush and I’ll be applying the eye shadow in the inner corner of my eye and under my brow.

image

image

image

Next I’ll be using a palette.  It’s the Glam’eyes by Rimmel London in the color 002 English Oak.

image

I really like this palette because it really opens your eyes and it also is a little bit glittery but still looks natural.

We’ll be using this color:
image

No this color we’ll be applying all over our lid and under our brow. It’s optional what brush you want to use. You can use a medium shadow brush but I’ll be using an angle shadow brush.
image

Now we choose the most darkest color on the palette:
image

This we apply on our lid. Be sure to have some makeup remover around in case you make a mistake.
image

Next we’ll be using a gold-brown eyeshadow an with it we’ll paint over the dark brown one. This will create a shimmery effect but you’ll still see the dark one shining through and around the edges.
image

image

Then choose a color with a reddish undertone and spread it it your crease.
P.S I’m using an angle shadow brush for all these steps.
image

image

This color has to be lighter than the colors you used before. If you want you can blend it in a bit using a fluffy brush.
The next color also has a reddish undertone. It’s darker then the other one but not as dark as the darkest shade that we used. This one you apply  in the corned of your eye and a tiny bit under your eye.
image

image

image

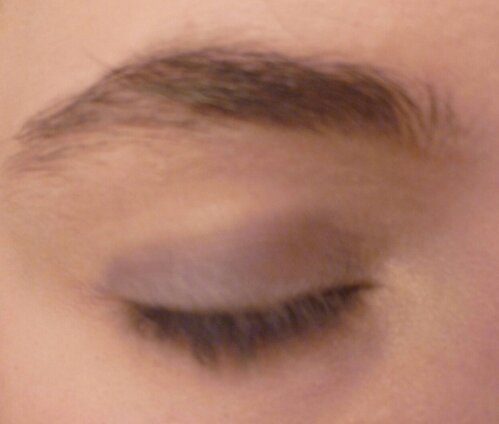
So now we’re done with the eyeshadow part.
image

As I said it’s a pretty natural look. What you don’t see so well is how glittery the eyeshadow is.
Now for my mascara routine I have to say it changes a lot. I try different mascaras each time and also don’t use them all in the same way.
First thing I usually do is curl my lashes.
image

My little torture device;)
No , but seriously is it just me or does an eyelash curler look like some medieval torturing device?

Anyway after that I use my Winged mascara by Mabyelline on both my top and lower lashes.
image

Review

I absolutely love this mascara. It has this clever little brush that helps you apply the mascara on one side and on the other it has a curved side so it fits perfectly in the curve of my lashes. It’s a little harder though to apply the mascara to your lower lashes but all together it’s a pretty good mascara.

The next mascara I use is the Lashblast Fusion by covergirl. I just use it to pile upon my top lashes so that it opens up my eye and makes my lashes appear longer.
image

Review

It’s also a pretty good mascara but used alone it doesn’t really give you that Wow Effect. Quite subtle, but for younger girls that’s probabley good. If you’re not going for a subtle look it’s a good mascara that you can pile upon another so just use it with another mascara.

My lips

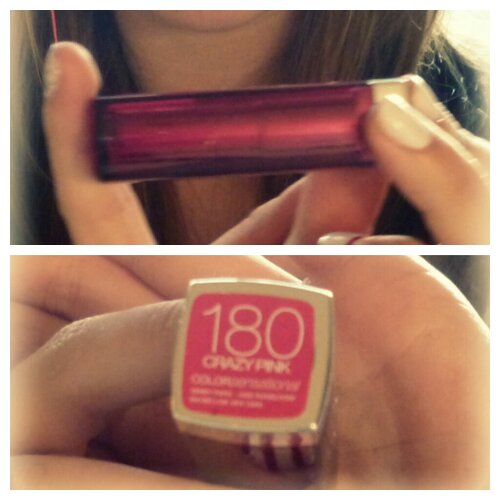
For my lips I went for a bold color. I also call it my Christmas lipstick because I used it as the statement piece for most of my Christmas outfits. It’s the Color Sensational Lipstick by Mabyelline in the color 180 Crazy Pink.
image

Review

Now my camera didn’t capture the color so well but it’s this beautiful hot pink. I love the color, it has a reasonable price and it doesn’t dry my lips out like other lipsticks do. I also love the case it’s really smart.
The only thing I have to criticise is that if your lips are dry you see it. So before using it be sure to exfoliate your lips with your toothbrush or with a lip scrub. (To make your own lip scrub check out my DIY)

The look

image

image

So that’s the look guys hope you like it. Be sure to check out all of my Christmas specials.

I’m not sure if I’ll be able to post tomorrow but I’ll try. Otherwise I will post my next post on the 26th. So be ready for that. If you do any of my posts and take a picture feel free to share it with us. Either via Instagram (#caitlynsentme) or via email (fashion4forfun@gmail.com) or via Twitter (@Fashion4forFun).
I’ll be choosing pictures out at random and they’ll get a shout out on my blog. So be sure to do that.

And that’s it. Merry Christmas everybody, enjoy the food and the time with your family.

Xoxox

Caitlyn